A few years ago we got a cast iron dutch oven from my parents. It mostly has sat in our garage, but it comes in handy when when the scouts go camping. They are going winter camping next week and will be taking it. In preparation, a couple of weeks ago they used it to practice their dutch oven cooking. It came home looking like this.
It obviously has seen better days. It is getting rusty on the outside and inside, the black around the edges in the bottom of the pan is some unknown charred on food, that will not come off. It is about 1/2 inch thick. And they are supposed to cook their meals in this. It needs some love.
I started looking online for how to re-season cast iron and came across
Sheryl Canter's blog. She appears to be a little obsessed with cast iron cookware, which is a good thing for me. She did all the research and figured out the best oil to use to season cast iron and could explain why. She also had great steps to follow. For her it has been a journey, so I had to read a couple of different posts and the comments to get all the information.
Here is how I did it.
First I cleaned the dutch oven with Easy Off oven cleaner. Heating it first then spraying it and enclosing it in a big garbage bag to set for several hours and one time over Sunday.
It took several applications as well as Trip scrubbing it and chipping away at that charred on gunk. We still had a few spots that wouldn't come completely off, but I thought it was good enough.
Next we rinsed really well and towel dried it.
In trying to get some "black rust" we baked it in a 450* oven for 1 hour. It still just looked like red rust on it. So then I tried to boil it in water to get the "black rust", but my canner wasn't big enough to submerge the whole thing and it didn't work out.
Instead, I tried a tip that I found in the comment section and rubbed the whole thing with a cut onion. That worked the best of all to give it some blackness.
Then I baked it again at 450* for an hour.
I let it cool and rubbed it with organic, unfiltered flax seed oil (it was cheapest at Amazon.com) then wiped it all off with a clean rag. You might be tempted to leave a thin layer of oil on the pan, but that will cause it to be sticky when it comes out of the oven. Wipe it all off (there really is the right amount left on the pan). It works!
I put the dutch oven and lid in the cold oven, upside down, brought the temp up to 500*.
After 1 hour at 500*, I turned the oven off and it let cool for 2 hours. Don't open the oven.
Then I repeated the oil steps 5 more times over the next 2 days.
We did 2 coats a day. When the oil heats up, it made all of our eyes hurt, so I would time it to bake it, then leave the house or go to bed for the cool down period. That is why it took so long.
It was totally worth it though.
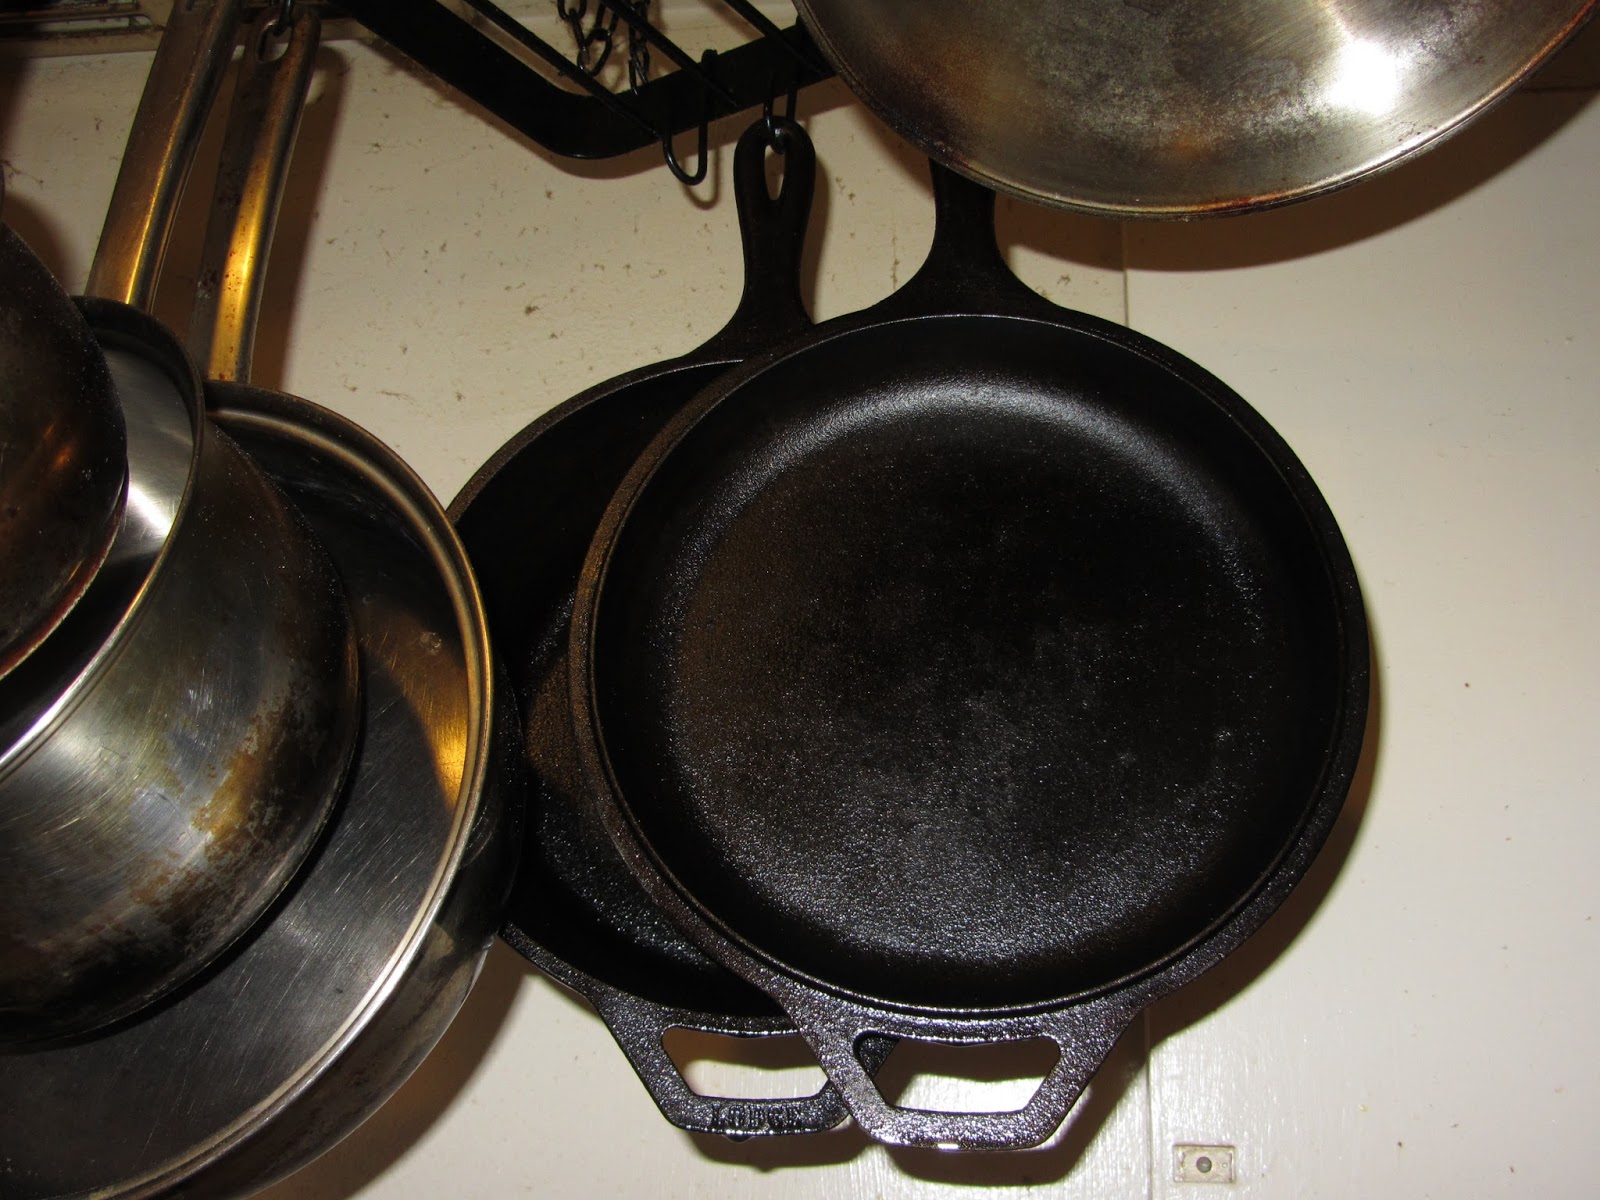
It looks beautiful!
I keep thinking I want other cast iron pieces to make look so nice.
Here are the before and after pictures.
If you need some flax oil to do your own, I have some and it will expire before I use it again.
(I know I could eat the flax oil myself, in fact I used to take a table spoon a day, but then I got pregnant with Ocean and I couldn't stomach it anymore and I still can't. Yuck!)
.JPG)


